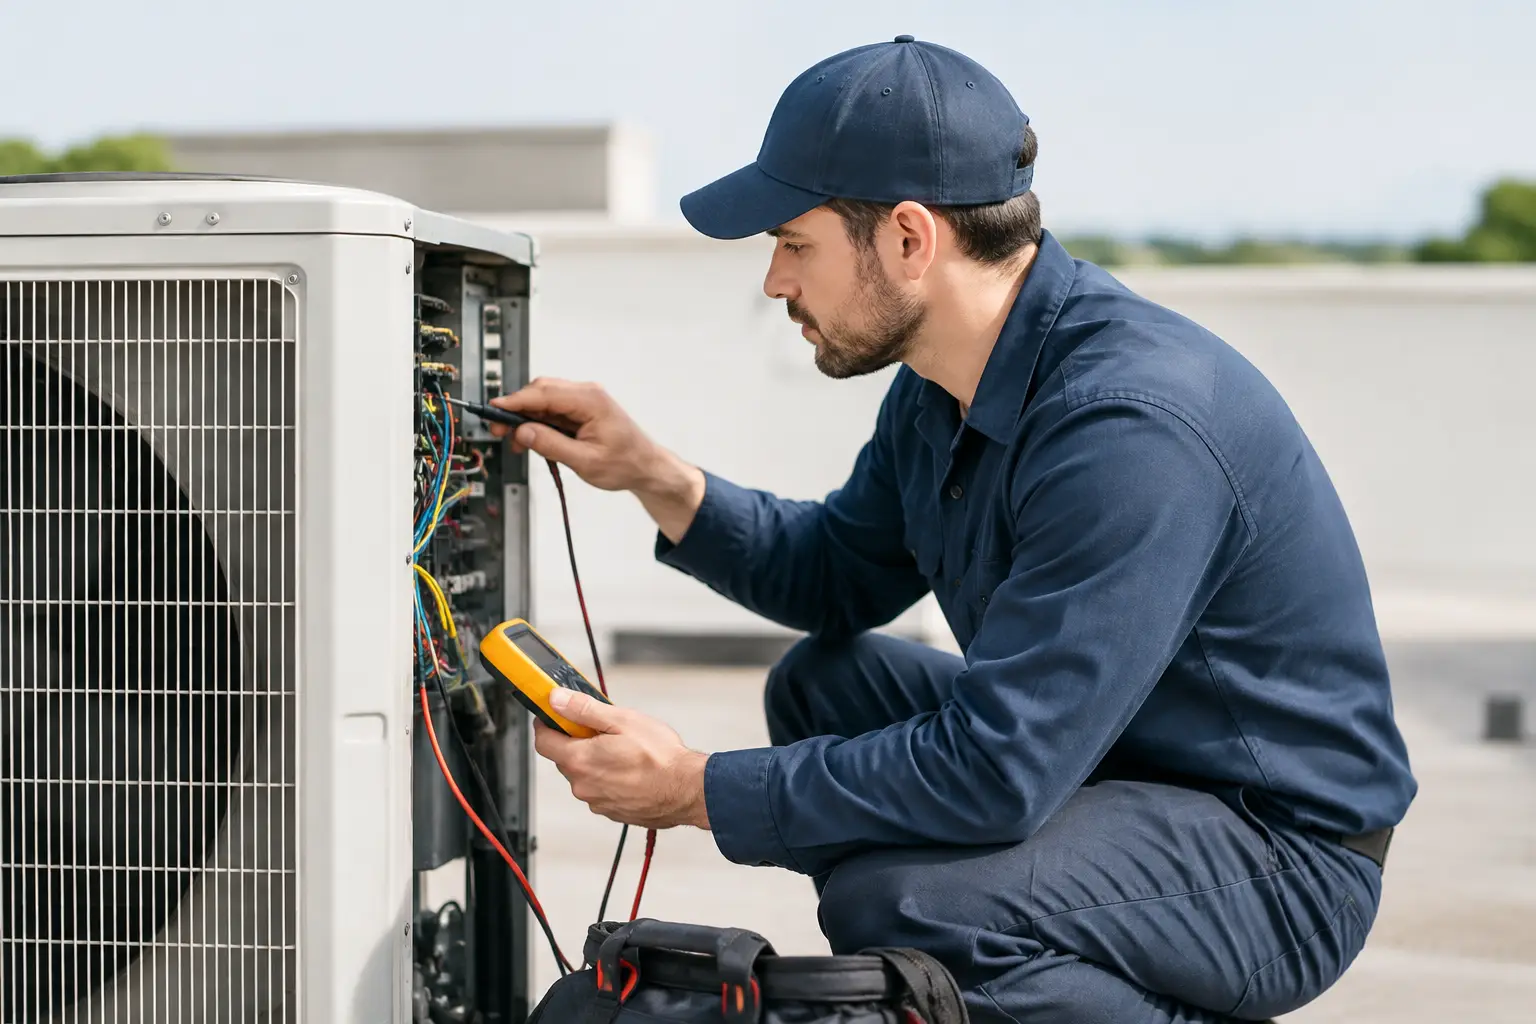
A no-cool call can look simple until the first technician checks charge, the second suspects a control board, and neither records what was actually measured. The equipment did not change. The process did. Learning how to standardize HVAC troubleshooting gives every technician a reliable path from complaint to verified repair, without forcing every service call into the same diagnosis.
Standardization is not a script that replaces technical judgment. It is a shared problem-solving method that makes sure the basics are checked, readings are captured, and the next technician can understand the work already completed. For a solo technician, that means fewer return trips caused by missed steps. For a service company, it means the best habits of experienced people do not disappear when they are off the clock.
Start With a Repeatable Call Intake
Troubleshooting begins before gauges, meters, or hand tools come out. A technician needs a clear statement of what the system is doing, when the issue occurs, and what changed before the problem started. “Not cooling” is a customer complaint, not a diagnosis.
Build a short intake process for every call. Record the equipment type, model and serial number, reported symptom, thermostat setting, outdoor conditions, and whether the problem is constant or intermittent. Ask about recent work, power outages, filter changes, renovations, and unusual noises or odors. These details help technicians avoid treating every failure as a refrigerant issue.
The format should be simple enough to use under pressure. If the intake form requires ten minutes of typing, it will be skipped. The goal is to create a starting point that lets a technician test a reasonable sequence of possibilities rather than chase guesses.
Standardize HVAC Troubleshooting Around System Checks
A dependable troubleshooting process moves from broad, low-risk checks to specific component testing. This order matters. It prevents a technician from condemning an expensive part before confirming power, airflow, controls, and operating conditions.
For most heating and cooling calls, begin with safety and visual inspection. Verify disconnects, breakers, fuses, wiring condition, panel condition, drain issues, obvious damage, and signs of overheating. Then confirm the call for heating or cooling at the thermostat and determine whether the required control voltage is reaching the equipment.
After that, check the portion of the system most likely to create the complaint. On cooling calls, airflow and electrical operation often come before refrigerant diagnostics. Confirm filter condition, blower operation, coil cleanliness, duct restrictions, condenser condition, fan operation, voltage, and amp draw. On heating calls, verify the sequence of operation instead of jumping directly to the gas valve, igniter, or board.
The exact checklist should depend on the equipment and symptom. A heat pump in defrost, a communicating inverter system, and a conventional split system do not get diagnosed in exactly the same way. What should stay consistent is the logic: verify the complaint, establish safe operating conditions, test the sequence, measure the system, and verify the repair.
Use Decision Points, Not Just Checkboxes
A checklist can become a false sense of progress if it only asks whether a task was completed. Strong troubleshooting standards include decision points. For example: if there is 24 volts at the contactor but it does not pull in, inspect the contactor coil and mechanical condition. If the contactor pulls in but the compressor does not start, verify line voltage and test the capacitor, wiring, overload condition, and compressor circuit.
Decision points give less experienced technicians a direction without pretending that every fault has one cause. They also help experienced technicians document why they moved past a suspected failure. That is useful when an intermittent issue returns or a different technician receives the callback.
Define the Readings That Must Be Recorded
“System checked” does not help anyone troubleshoot a repeat issue. Standardization requires common measurements and common labels. Decide which readings your team records for common equipment types and calls.
For an air conditioning or heat pump diagnosis, that may include return and supply temperature, indoor and outdoor dry-bulb temperature, voltage, compressor and fan amp draw, static pressure where applicable, refrigerant pressures, line temperatures, superheat, subcooling, and thermostat/control voltage. For furnaces, capture the fault code, sequence failure point, inducer and blower operation, pressure switch conditions, flame-sensing results, gas pressure when qualified to test it, and temperature rise.
Not every call requires every measurement. A failed disconnect does not require a complete refrigeration profile before it can be replaced. But when the complaint involves capacity, freeze-ups, high head pressure, short cycling, repeated lockouts, or an intermittent fault, recorded readings are what separate a diagnosis from a guess.
Use the same units and names across the team. If one technician writes “high pressure,” another writes “head,” and a third only posts a photo of gauges, the record becomes hard to use. A clear standard makes comparisons easier across visits, seasons, and similar units.
Build Equipment-Specific Troubleshooting Paths
Generic training is useful, but field work happens on specific equipment. Organize your troubleshooting information by equipment category, manufacturer, control type, and symptom. A technician should be able to locate the right sequence for a furnace ignition failure, a package unit economizer issue, a mini-split communication fault, or a heat pump defrost problem without searching through a long manual on a phone.
Keep manuals, wiring diagrams, fault-code references, calculators, and proven diagnostic procedures in one accessible location. HVAC Assist Pro can support this kind of field-ready library, combining manual access, guided steps, tools, and technician discussion in a single workspace.
Do not overbuild the first version. Start with the equipment and failures your team sees most often. Add paths after you identify repeat callbacks, frequent phone-support questions, or procedures that new technicians regularly struggle to follow. A useful troubleshooting library grows from actual service work, not from copying every page of a manufacturer manual.
Create a Standard for Notes and Photos
A good service note explains the complaint, the evidence, the repair, and the final result. It should let another qualified technician answer four questions: What did the system do? What was tested? What failed or was found? How was correct operation verified?
Photos should support the note, not replace it. Capture model and serial information, wiring before changes, fault displays, damaged components, meter readings when helpful, and final conditions when relevant. Label images so they can be found later. A photo titled “IMG_4821” adds little value six months from now.
Set a practical standard for repairs that require verification. After a repair, test the unit through its normal operating sequence, confirm the original complaint is resolved, check for new faults, and record the result. Replacing a capacitor is not the finish line if the condenser fan still has an amp draw issue or the system is not producing expected capacity.
Turn Field Experience Into Shared Knowledge
The best troubleshooting standard is never finished. Equipment changes, manufacturers revise controls, and technicians encounter unusual failures that no basic checklist covers. Create a simple process for turning those discoveries into team knowledge.
When a technician finds a useful fix, capture the symptom, equipment details, readings, root cause, repair, and verification. Review the entry before adding it to a shared reference. This prevents a one-time workaround from becoming company procedure while preserving information that could save hours on the next similar call.
A forum-style discussion can be valuable here because it keeps the reasoning attached to the fix. The technician who sees the same symptom later can understand why a certain test matters, not just which part was replaced. That is how a team builds judgment without relying on texts, scattered notes, or one person’s memory.
Train for Consistency Without Slowing the Team
Some technicians may resist a standardized process because they expect it to add paperwork or question their experience. Address that concern directly. The purpose is not to make senior technicians work like apprentices. It is to reduce wasted diagnostic time, create usable records, and give every technician a dependable baseline.
Introduce one process at a time. Start with call intake and required readings for a single high-volume call type, such as no cooling or furnace no heat. Review a sample of completed calls each week. Look for missing information, unclear notes, and steps that do not fit real field conditions. Then adjust the standard.
Measure results that matter: callbacks, average diagnostic time, parts replaced without resolving the complaint, repeat failures, and technician phone-support requests. If a required step does not improve diagnosis or protect the customer, remove it. Standardization should make work clearer, not create another form to manage.
A technician should still be free to follow evidence wherever it leads. The difference is that every call now leaves behind a clear trail of problem solving, one that makes the next diagnosis faster and the next repair easier to verify.